Fluid rendering
Obi supports two fluid rendering techniques: spherical impostors and screen-space splatting, implemented by ObiParticleRenderer and ObiFluidRenderer, respectively.
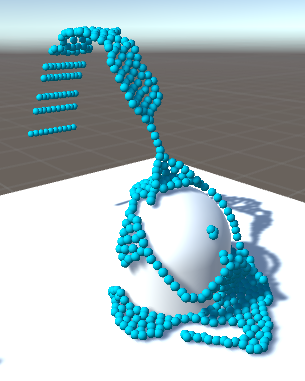
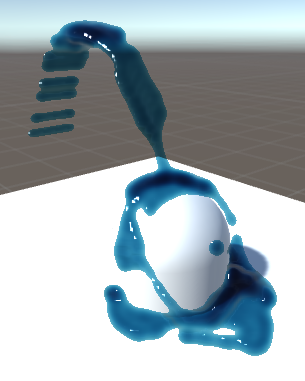
Obi Particle Renderer 
Spherical impostors are a special type of billboards (camera-facing quads) which look like perfectly-lit, highly tesselated 3D spheres, at a fraction of the cost. The ObiParticleRenderer component can be used to render your fluid particles as tiny spheres using this technique.
In order to do this, just add the component to any actor (for instance an ObiEmitter, but it can also be used to draw cloth or ropes). You can also set the color of the particles, and scale the radius used when rendering them.
You can provide any shader you wish to use for particle rendering, as long as it honors the particle data being passed to the vertex shader. Obi includes particle shaders for the built-in render pipeline, as well as shaders for URP (you can find these in Obi/Resources/ObiMaterials/URP).
Obi Fluid Renderer 
Setting up fluid rendering is done in a slightly different way depending on which scriptable render pipeline you're using. Note the HDRP rendering pipeline is not currently supported:
- Built-in
- Add a ObiFluidRenderer component to each camera you need to be able to render fluid.
- Universal (URP)
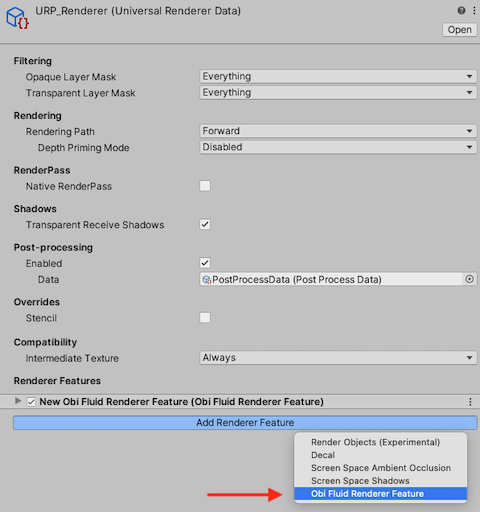
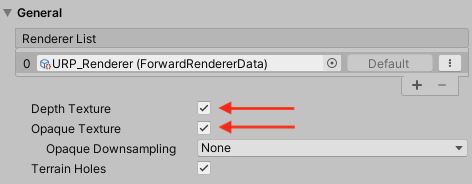
- Add a ObiFluidRendererFeature to the feature list of your pipeline's Renderer asset, see the following picture:
Regardless of the pipeline you use, you will be presented with a similar interface:
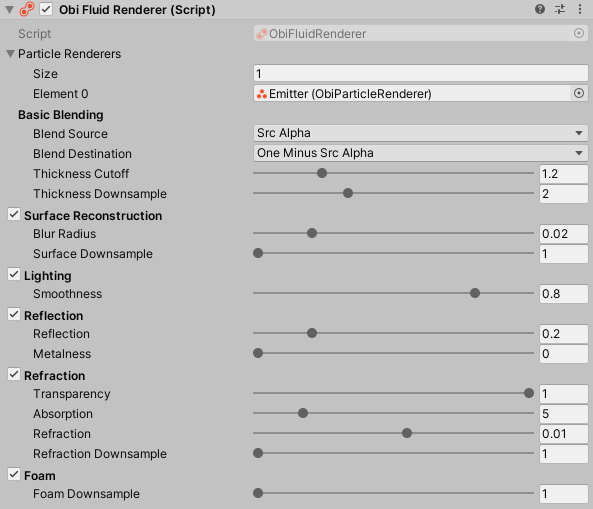
Screen-space splatting involves using the individual billboards generated by an ObiParticleRenderer to draw a smooth, continuous representation of the fluid. So, setting up a particle renderer is a prerequisite for fluid rendering:
In order to use fluid rendering, you need to have a ObiParticleRenderer set up. Then assign the ObiParticleRenderer to the ObiFluidRenderer's "Particle Renderers" property.
Using a radius scale between 1.7 and 2 for the particle renderer will ensure good particle coverage, and a fluid surface with no gaps.
Let's take a look at each individual section of the renderer interface:
Basic blending
This controls the fluid thickness buffer and how it is blended with the screen contents:
- Blend source/dest
- Controls how the fluid is blended with the background. For more info, see Unity's shaderlab documentation.
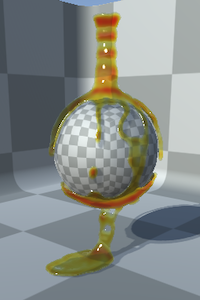
Alpha blending (src=src alpha, dest=one minus src alpha) 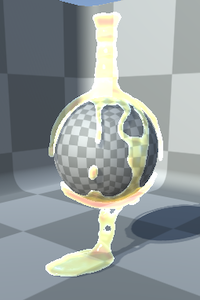
Additive blending (src=one, dest=one)
- Thickness Cutoff
- This is a threshold over fluid thickness. Regions of the fluid below this thickness will be discarded.

Low cutoff 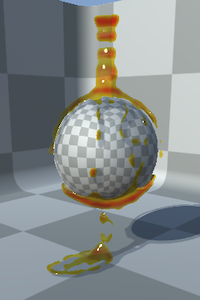
High cutoff
- Thickness Downsample
- Downsampling of the thickness buffer. Increase it to use a lower-resolution buffer.
Surface reconstruction
This controls depth/normals generation for the fluid surface. It is required for lightning/reflection/refraction.

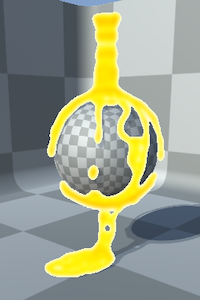
- Blur radius
- Amount of depth blurring applied before generating normals. Higher values will result in a smoother surface.

Low blur radius 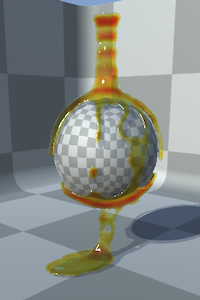
High blur radius
- Surface Downsample
- Downsampling of the depth/normals buffers. Increase it to use lower-resolution buffers.

No downsampling 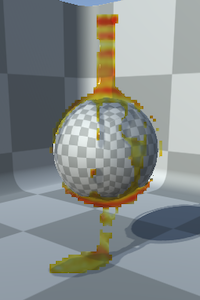
Downsampling = 4
Lighting
This controls lighting.
- Smoothness
- Surface smoothness of the fluid. High values will result in small specular glints, lower values will result in a rougher-looking surface.

High smoothness 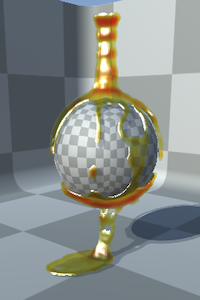
Low smoothness
Reflection
Controls surface reflection.
- Reflection
- Amount of reflection.

Low reflection 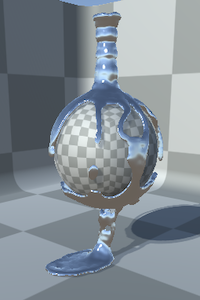
Chrome-like, high reflection
- Metalness
- Controls reflection metalness: high values will cause reflection/specular to be tinted with the fluid's surface color.

High reflection, 0% metal 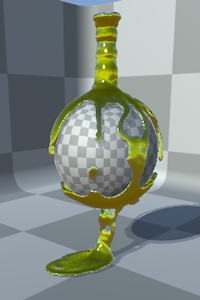
High reflection, 100% metal
Refraction
Controls surface refraction.
- Transparency
- Amount of fluid transparency: higher values will let the background show trough.

Transparent fluid 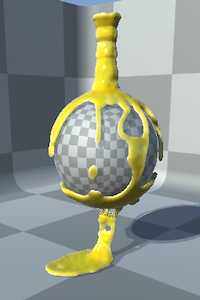
Opaque fluid
- Absorption
- How much light is absorbed by the fluid, as light travels trough it: higher values will tint the background with the fluid color. This effect is more noticeable where the fluid is thicker.
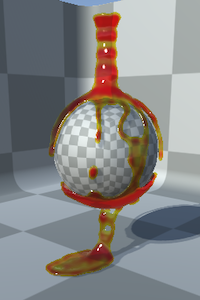
High absorption 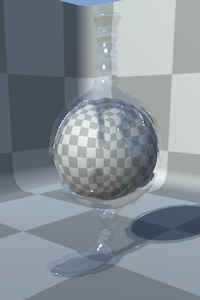
No absorption
- Refraction
- Amount of light refraction. This effect is more noticeable in thicker regions of the fluid.

Low refraction 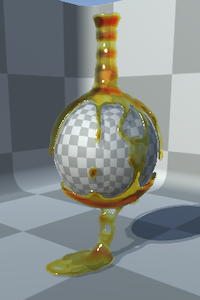
High refraction
- Refraction downsample
- Downsampling of the refraction buffers. Increase it to use a lower-resolution buffer.
Foam
If you're using particle advection, this controls how advected particles are integrated with the fluid.
- Foam downsample
- Downsampling of the foam buffer. Increase it to use a lower-resolution buffer.
How it works
There are many possible ways to render fluid. Obi uses a screen-space method that does not involve procedurally generating a mesh every frame, thus reducing CPU workload and taking full advantage of the GPU for rendering. The full rendering process has 5 steps that happen every frame:

From left to right:
- First, the current screen contents are stored in a texture buffer for later refraction.
- All particles render their depth to an offscreen depth buffer.
- Also, they render their thickness and color to a thickness/color buffer.
- The fluid depth buffer rendered in step 1 is used to generate a normals buffer.
- All four buffers are composited into the final render. The fluid depth buffer is used to discard fluid fragments that are obscured by other objects in the scene.
This is similar to a traditional deferred renderer, and shares the same strengths and weaknesses: rendering cost is largely independent of the amount of particles on screen, but this also means there's a fixed cost associated to buffer generation even if there are no particles visible.
The built-in ObiFluidRenderer makes use of shader variants to generate an optimized shader for the combination of features you're using. For instance: if you're rendering opaque fluid with no refraction, step #1 will be skipped: no refraction buffer will be rendered at all, and the resulting shader won't include any refraction calculations.
Mobile performance
For desktop platforms, you can get away with full-resolution rendering and all renderer features most of the time. Mobile devices however are typically more fillrate limited, so it can be beneficial to use aggresive downsampling, and skip surface reconstruction if possible. Using simple blending instead of refraction can also improve performance.