Setting it up
First of all, import the Obi package of your choice (cloth, softbody, rope or fluid) into your project. You can do this via Unity's Package Manager, via the Asset Store, or from disk by right clicking on your project folder in the Unity editor and selecting Import Package->Custom package.
If you own several Obi assets, you can just import them all one after another as long as they have the same version. Do not mix and match packages with different versions, this might break your Obi installation.
Once imported, you can find Obi installed in the /Assets/Obi folder. You may move the entire /Obi folder around, but you should not modify its contents.

The asset is organized in 5 subfolders:
- Editor/
- Contains editor scripts and tools, only used when running Obi inside the Unity editor.
- Plugins/
- Contains precompiled libraries used by Obi for multiple platforms (.dll, .bundle, .so, etc). Most notably, the Oni backend.
- Resources/
- Contains resources used at runtime, mainly materials and shaders.
- Samples/
- Contains sample scenes, resources and scripts. If you're not interested in these, it's safe to remove the entire Samples folder from your project.
- Scripts/
- Contains scripts and tools used at runtime.
Before you go any further, you should install the package dependencies for the Burst backend (see the backends page for details). The Burst backend is the core physics engine used by Obi. While Obi can run without its package dependencies installed (by falling back to a native physics engine), will do so with reduced performance and limited platform compatibility.
Compatibility with SRPs (Scriptable Render Pipelines)
Obi is a physics engine. With the important exception of Obi Fluid (see below), Obi assets do not perform or require any custom rendering, nor are they tied to specific materials or shaders. This means they're pipeline-agnostic, and will work regardless of the render pipeline used in your project.
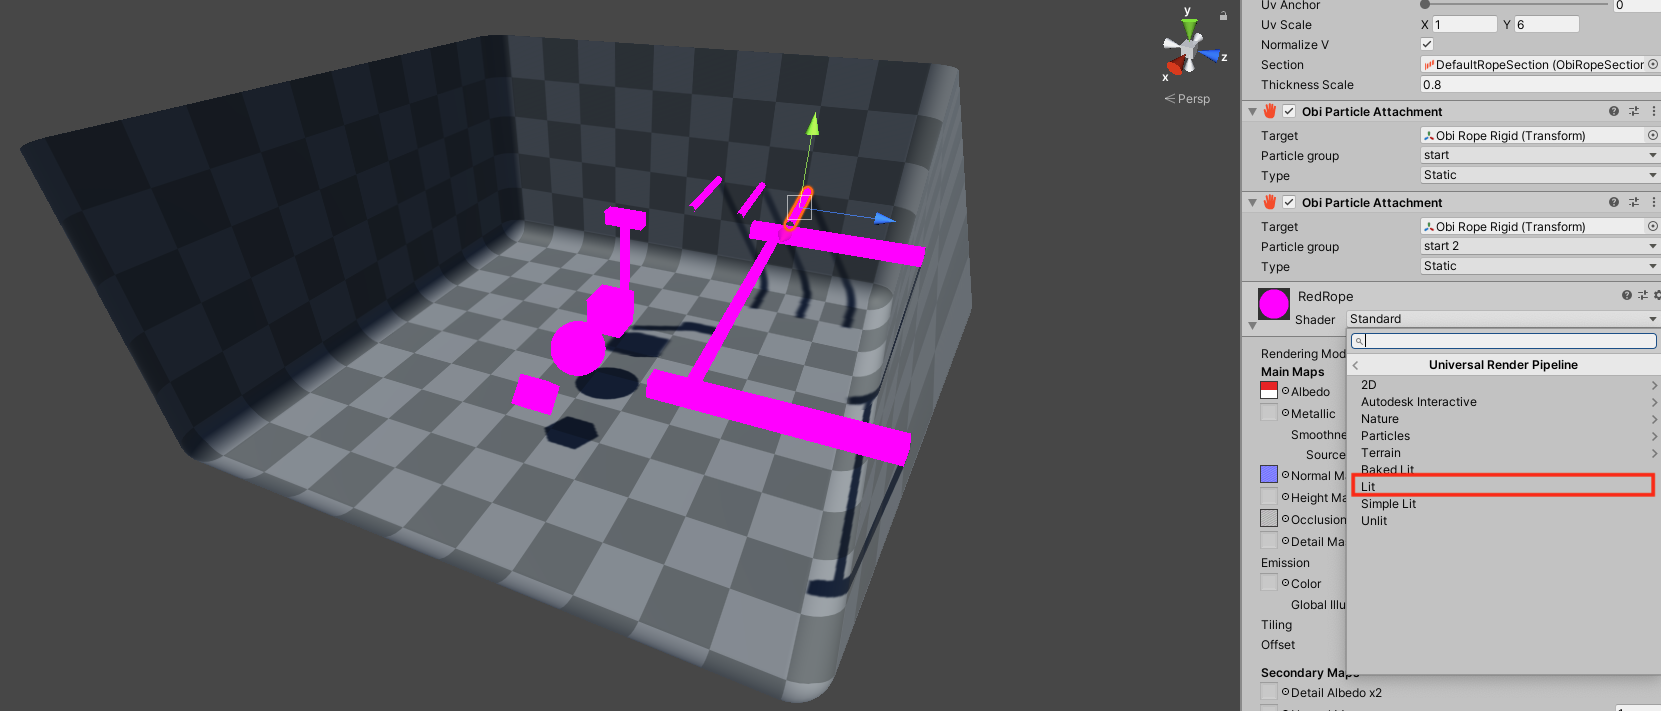
However, the included sample scenes are made for Unity's default, built-in render pipeline. When objects in a scene use shaders/materials incompatible with the current render pipeline, Unity will just draw them in a flat pink color. So if you're using URP, HDRP, or a custom pipeline, you will probably want to convert the sample scenes content to your pipeline for adequate rendering.
This can be done using Unity's automatic material conversion, up to an extent. Unity may fail to convert all materials in a scene, in that case you can just select the remaining pink objects and change their material/shader to an URP/HDRP compatible one:

If you're not using SRPs but the built-in pipeline, it's safe to delete the /Obi/Resources/ObiMaterials/URP folder. Otherwise Unity will raise an error at build time, stating that it cannot find the URP pipeline installed.
Obi Fluid
To render fluid surfaces, Obi Fluid uses a custom rendering method known as screen-space ellipsoid splatting. This is similar to a deferred renderer, it works as a kind of screen-space image effect that allows efficient rendering of complex fluid surfaces. However, it requires the use of shaders that must be custom-tailored to each render pipeline. Out of the box, Obi Fluid's rendering system is only compatible with URP and the built-in pipeline. For more information on how to set up fluid rendering for URP, see the fluid rendering page.